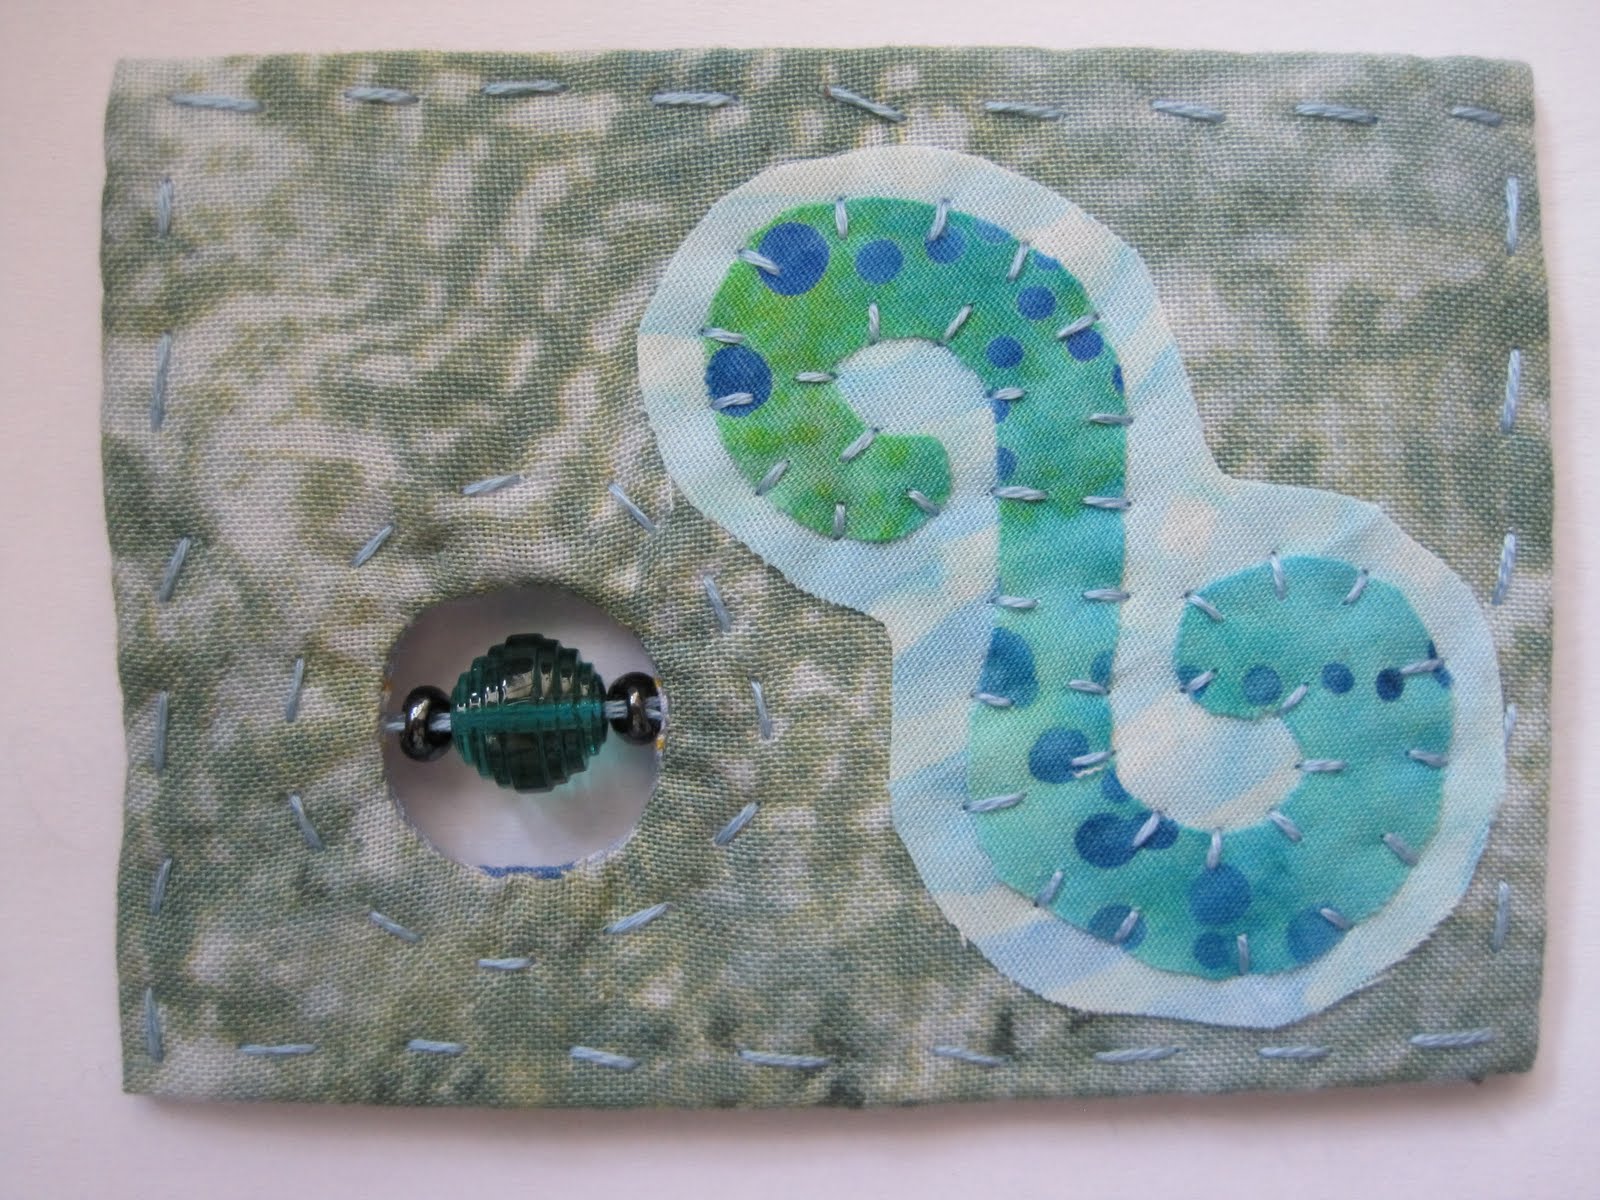
So, here we are, ATC #50 of the project. I'm halfway there, and in celebration, a little tutorial! No, just kidding, I didn't plan this at all; it just worked out this way :)
Anyway, here's how I've been making those neat windows in my recent fabric ATCs:

Start with two pieces of fabric, one for the front and one for the back, plus one piece of Timtex or Pellon or whatever other heavy interfacing. The interfacing should be cut to 2.5 inches by 3.5 inches; the fabric should be cut a bit bigger all around.

Use a coin or other shape (it doesn't have to be a circle) and trace it on both the interfacing and the fabric. If you trace if off-center, try to place it in approximately the same place. You can see here that both circles are at the top left.

Cut the circle out of the interfacing. Cut about 1/8 inch bigger than the actual shape.

Sew the two layers of fabric together (right sides together), sewing exactly on the line that you drew.

Cut out the inside of the shape, and cut notches into the seam allowance. Cut as close as you can to the seam without actually cutting it.

Turn the fabric right side out through the hole in the center.

Flatten it out. This step takes a lot of time, patience, and a really good steam iron, or a lot of water! But seriously, take your time and do this well. I was rushing a bit, and you can really see it in the end (why oh why did I choose a fabric with a grid???).
By the way, this was also the step where I remembered: if you trace your shape on the top left hand corner in the first steps, when you turn it right side out, it will be in the top right corner instead. Duh!

Next, pull the top layer through the hole in the interfacing. The interfacing should end up between the two layers of fabric. Again, take your time and smooth things out nicely.

The sew a running stitch (or whatever other stitch floats your boat) around the shape. Sew through all layers. Now, your window is basically finished, it's attached to the card, and it should be pretty stable.

Now we're going to decorate the front of the ATC a bit more, but first we need to get the backing out of the way. One way to do this is as pictured above - gather the backing up over the window and pin it in place. Or, gather the fabric up like a pony-tail and use a hair tie to keep it out of the way.

Continue decorating the front of the ATC as you like. From here there are different ways to finish the card. If you have a machine, you can trim the excess front and back fabric and just do a satin stitch around the edges. My machine unfortunately does only straight stitch, so I'm going to explain how to finish the edges by hand:
At some point, fold the excess fabric of the front around to the back. You can hold it in place with stitches (on the card above, that's what the black X's are), or glue or fusible web, or a temporary basting stitch. Or you can just pin it.

Fold the extra backing fabric in (fold it under and into the card) and pin it in place.

If you're like me, you'll use lots of pins! When it's all secure, sew around the edges with a hem stitch or ladder stitch or running stitch.

And you're done! If you want, you can add beads or whatever else to your window. I did mine at the end, but you can do it at basically any step of the process.
(Notice how distorted the grid is at the top of the hole? That's because I didn't take the time to press it properly...)
 I really, really, really love these ATCs. There's something about the texture, simplicity, and movement of them. Is it really over dramatic if I say that they were almost theraputic to work on? Hm, that does sound a bit crazy...