Saturday, July 30, 2011

75-77 Quiltie ATCs


I just learned recently that a "quiltie" is a miniature quilt, so I'm thinking of these as quiltie ATCs. They have interfacing in the middle instead of batting, so they're not as soft as a quilt, but they are pieced, quilted, and bound just as you would make a quilt.

These took ridiculously long to make. Maybe 5 or 6 hours of work, all together? It's hard to tell because I worked on them off and on all day yesterday. Time well spent, in my opinion!

74 two-sided ATC


This is a two-sided ATC for this swap. Between the two, there's a pocket with a piece of card stock that slides in and out; this is where the information (name, date, etc) is.

Wednesday, July 27, 2011

70-73 Reverse Zentangles

Guess what I bought yesterday:


A white pen and some black card stock :)

It's a good thing I only got 2 sheets of the card stock - 65 forint (35 cents) each! - otherwise I'd be tempted to make about 20 more of these.

Tuesday, July 26, 2011

68 and 69: green thread sea ATCs


More of the same. I think one of these is destined for a "Green" swap; the other will go into The Box.

Monday, July 25, 2011

#67 Another Fabric ATC tutorial (with supplies that you already have at home)

Here is a tutorial to make a simple but beautiful fabric ATC, using all supplies that you probably have at home already. This tutorial uses hand-sewing instead of machine-sewing.

So let's begin! First picture: all of the supplies you will need. From top left, we've got: fabric, pins and needles, glue, ruler, paper or cardboard, scissors, pens and pencils, embroidery floss and/or normal sewing thread. If you don't have the fancy Omnigrid rulers, no problem; any ruler will do!


First let's deal with the paper or cardboard. Cut a rectangle which is just a tiny bit smaller than 2.5" by 3.5". In the picture below, you can see what I mean by "a tiny bit" - something like 1/16 of an inch.


If you are using a thinner paper, cut two or three rectangles and glue them together. Try not to spill glue all over your cutting board, like I did!


Next, pick a piece of fabric. Your fabric pieces should be cut approximately 4.5" by 3.5". This is a very approximate sizing! On the back of one piece, draw some lines or shapes with your pencil:


Now thread a needle with floss or thread. If you're using thread, double it up. Use the lines you drew as a guide and sew a running stitch. Go back and forth across the fabric. Don't worry about being too neat; in fact it's better to do this step while watching TV or a film and not concentrate too much!


If you run out of thread, just tie a knot at the back and start with a new thread. You can start with the same color or a new one:


If you get bored of sewing, you can add some variation by adding a shape to your ATC. Just cut a shape from a contrasting fabric and use a running stitch (or any other stitch) to attach it:


When the front of your ATC is done, it's time to attach the back. On the wrong side of the back fabric, draw two lines 2.5" apart. Layer it with the front of the ATC, right sides together:


Pin it and sew on the lines (by hand or by machine):


When you've sewn both lines, you'll have a kind of tube; turn it right-side-out and flatten it a bit with your fingers. You don't need to press it with an iron at this point:


Now, take your paper or cardboard and ease it into the tube. I've found that it works best if you try to keep the seam allowances at the front:


See how the paper is going in between the seam allowances and the back:


When the paper is all the way in, try to more or less center it in the tube. Once you've got it centered, you just have to fold in the ends and sew them together, and the ATC will be complete! So, start at one end. Fold the front fabric over the paper and tuck it in:


Fold the back fabric in as well:


The corners may get a bit lumpy because of the seam allowances. Use a pin to push them in and smooth them out:


Sew the ends together:


Finally, repeat with the other end. You're done! Use the pen to write your information on the back of the ATC, and it's ready to be traded :)


Good work!

65, 66 Matisse inspired


Two more Matisse-inspired ATCs.

Tuesday, July 19, 2011

61-64 more Zentangle letters


More Zentangled letters for that series of swaps, plus some extras for a private swap. The C and D are made of just C and D patterns, respectively (Cadent, Chiffon, Diamond Panes, etc). I think I'm going to do the rest of the series the same way. If I work ahead, I might actually make the 100-ATC goal before August 2 :)

59 and 60 - Icarus


Two ATCs based on Henri Matisse's Icarus. Felt and embroidery floss, with a card stock backing.

Working on these was quite interesting, because they made me think about (and, somewhat, find an answer for) the question: "Why do fabric ATCs?"

The original Icarus was a paper cut. These ATCs would have been very easy to make with paper. Either brightly solid-colored construction paper, painted paper, nicely textured colors... some cuts, some glue, and I could have had a beautiful ATC in 10 minutes. But for me, the texture of the fabric is worth it. I love the feel of a finished fabric ATC in my hand; somehow they just feel more solid than paper ones!

Saturday, July 16, 2011

57 and 58: Zentangle A and B


Letters and A and B of the Zentangle alphabet swap. I think the A turned out nicer, but on the other hand the B is made from using just patterns starting with the letter B :)

Monday, July 4, 2011

56: tagged Zentangle ATC for Rachel

I tagged another swap-botter to make her a Zentangle ATC. Perhaps I got a bit carried away... the ATC folds out and the 6 inner panels spell her name; the patterns making up each of the letters are patterns beginning with that letter. For example, the R panel includes Reticulated (the snake-y one) and Rain and Raindotty... you get the point.


Here is the front of the ATC when it is closed. The back just has information:


As I was working on it, I didn't even think of it as an ATC. In fact, it was only as I was taking pictures of it that I realized I could include it on this blog! It was a fun little project to make; I hope she likes it and doesn't think that I'm too crazy!

54, 55: blue/gray thread sea ATCs with Zentangle inchies

More of the same, this time with an inchie included:

Friday, July 1, 2011

51, 52, 53: Thread sea ATCs

Actually, I finished these ATCs before #50 below, but who's counting?

I really, really, really love these ATCs. There's something about the texture, simplicity, and movement of them. Is it really over dramatic if I say that they were almost theraputic to work on? Hm, that does sound a bit crazy...

Anyway, these are fabric front and back with a cardboard inside for stability.

Updated: as I'm going through and naming all my posts (to be able to find an ATC if I want), I had to come up with a name for this technique. Tomi suggested this one, and after first misunderstanding it as "threadsy" and "thread see", I decided that "thread sea" was a pretty good name.

How to make a fabric ATC with a window (tutorial)

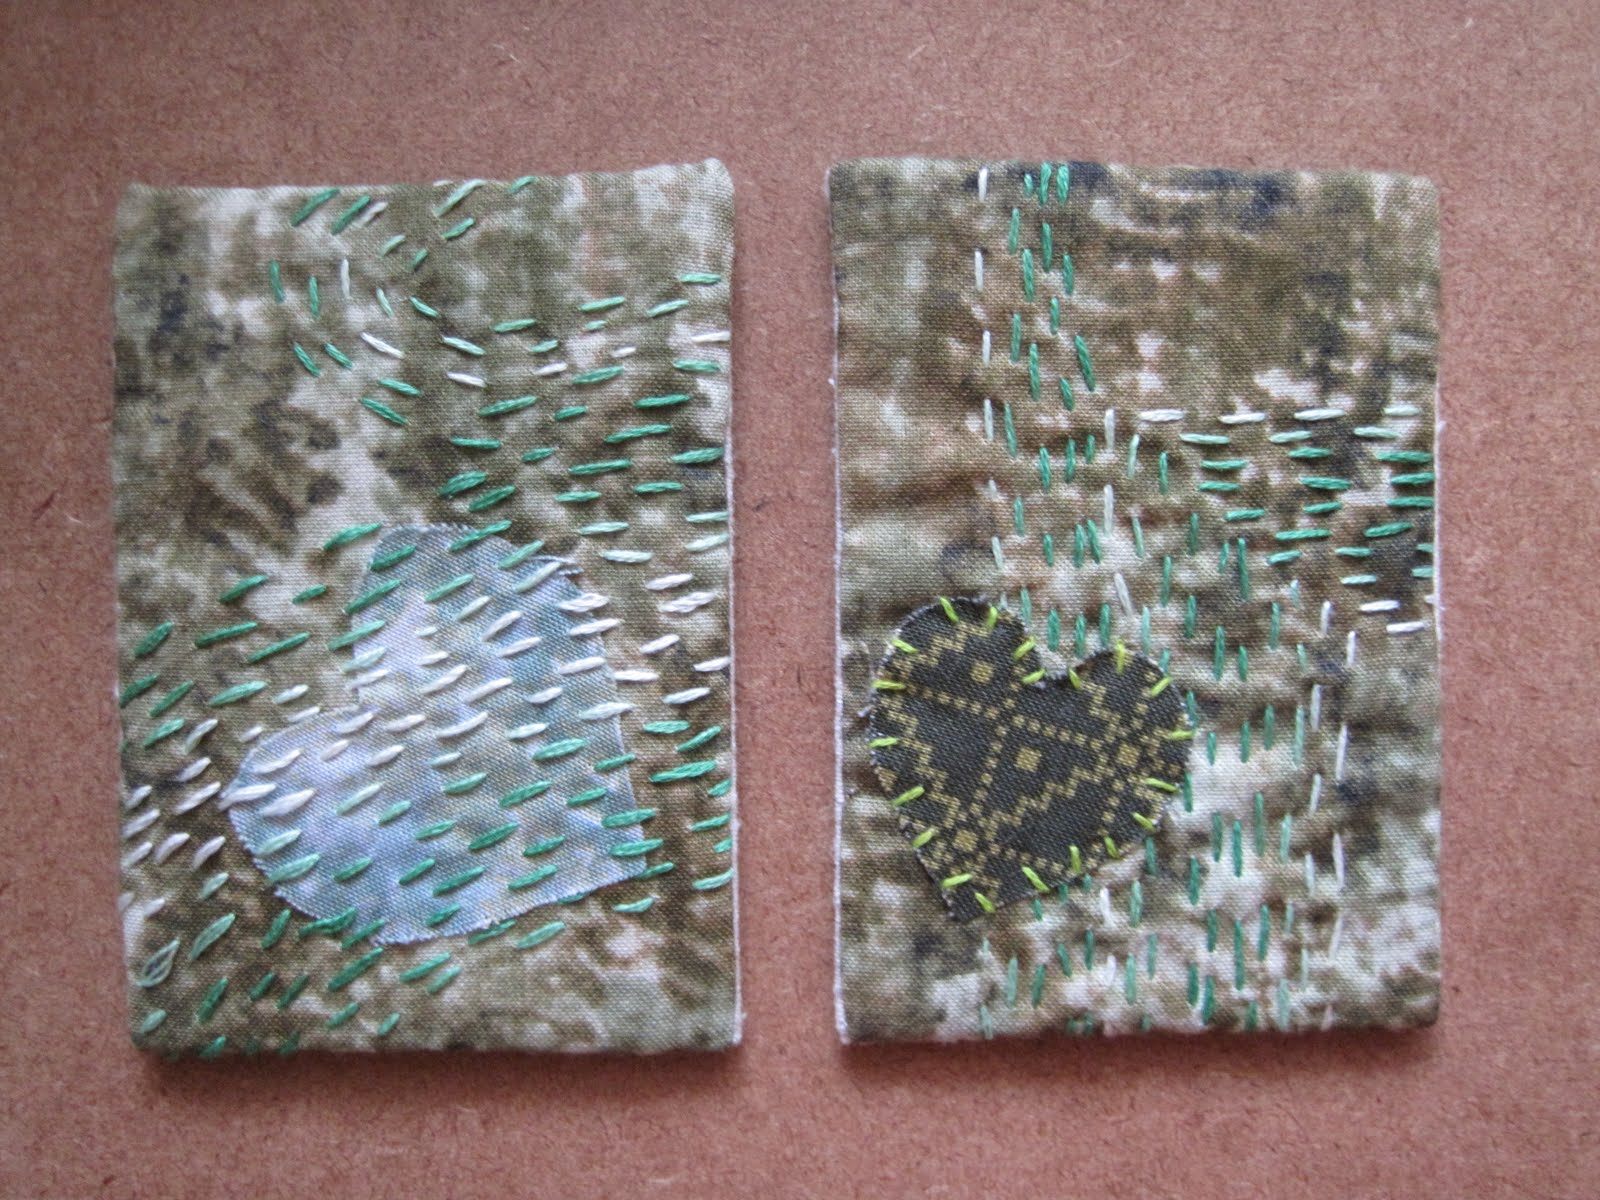
So, here we are, ATC #50 of the project. I'm halfway there, and in celebration, a little tutorial! No, just kidding, I didn't plan this at all; it just worked out this way :)

Anyway, here's how I've been making those neat windows in my recent fabric ATCs:


Start with two pieces of fabric, one for the front and one for the back, plus one piece of Timtex or Pellon or whatever other heavy interfacing. The interfacing should be cut to 2.5 inches by 3.5 inches; the fabric should be cut a bit bigger all around.


Use a coin or other shape (it doesn't have to be a circle) and trace it on both the interfacing and the fabric. If you trace if off-center, try to place it in approximately the same place. You can see here that both circles are at the top left.


Cut the circle out of the interfacing. Cut about 1/8 inch bigger than the actual shape.


Sew the two layers of fabric together (right sides together), sewing exactly on the line that you drew.


Cut out the inside of the shape, and cut notches into the seam allowance. Cut as close as you can to the seam without actually cutting it.


Turn the fabric right side out through the hole in the center.


Flatten it out. This step takes a lot of time, patience, and a really good steam iron, or a lot of water! But seriously, take your time and do this well. I was rushing a bit, and you can really see it in the end (why oh why did I choose a fabric with a grid???).

By the way, this was also the step where I remembered: if you trace your shape on the top left hand corner in the first steps, when you turn it right side out, it will be in the top right corner instead. Duh!


Next, pull the top layer through the hole in the interfacing. The interfacing should end up between the two layers of fabric. Again, take your time and smooth things out nicely.


The sew a running stitch (or whatever other stitch floats your boat) around the shape. Sew through all layers. Now, your window is basically finished, it's attached to the card, and it should be pretty stable.


Now we're going to decorate the front of the ATC a bit more, but first we need to get the backing out of the way. One way to do this is as pictured above - gather the backing up over the window and pin it in place. Or, gather the fabric up like a pony-tail and use a hair tie to keep it out of the way.


Continue decorating the front of the ATC as you like. From here there are different ways to finish the card. If you have a machine, you can trim the excess front and back fabric and just do a satin stitch around the edges. My machine unfortunately does only straight stitch, so I'm going to explain how to finish the edges by hand:

At some point, fold the excess fabric of the front around to the back. You can hold it in place with stitches (on the card above, that's what the black X's are), or glue or fusible web, or a temporary basting stitch. Or you can just pin it.


Fold the extra backing fabric in (fold it under and into the card) and pin it in place.


If you're like me, you'll use lots of pins! When it's all secure, sew around the edges with a hem stitch or ladder stitch or running stitch.

And you're done! If you want, you can add beads or whatever else to your window. I did mine at the end, but you can do it at basically any step of the process.

(Notice how distorted the grid is at the top of the hole? That's because I didn't take the time to press it properly...)