So let's begin! First picture: all of the supplies you will need. From top left, we've got: fabric, pins and needles, glue, ruler, paper or cardboard, scissors, pens and pencils, embroidery floss and/or normal sewing thread. If you don't have the fancy Omnigrid rulers, no problem; any ruler will do!

First let's deal with the paper or cardboard. Cut a rectangle which is just a tiny bit smaller than 2.5" by 3.5". In the picture below, you can see what I mean by "a tiny bit" - something like 1/16 of an inch.

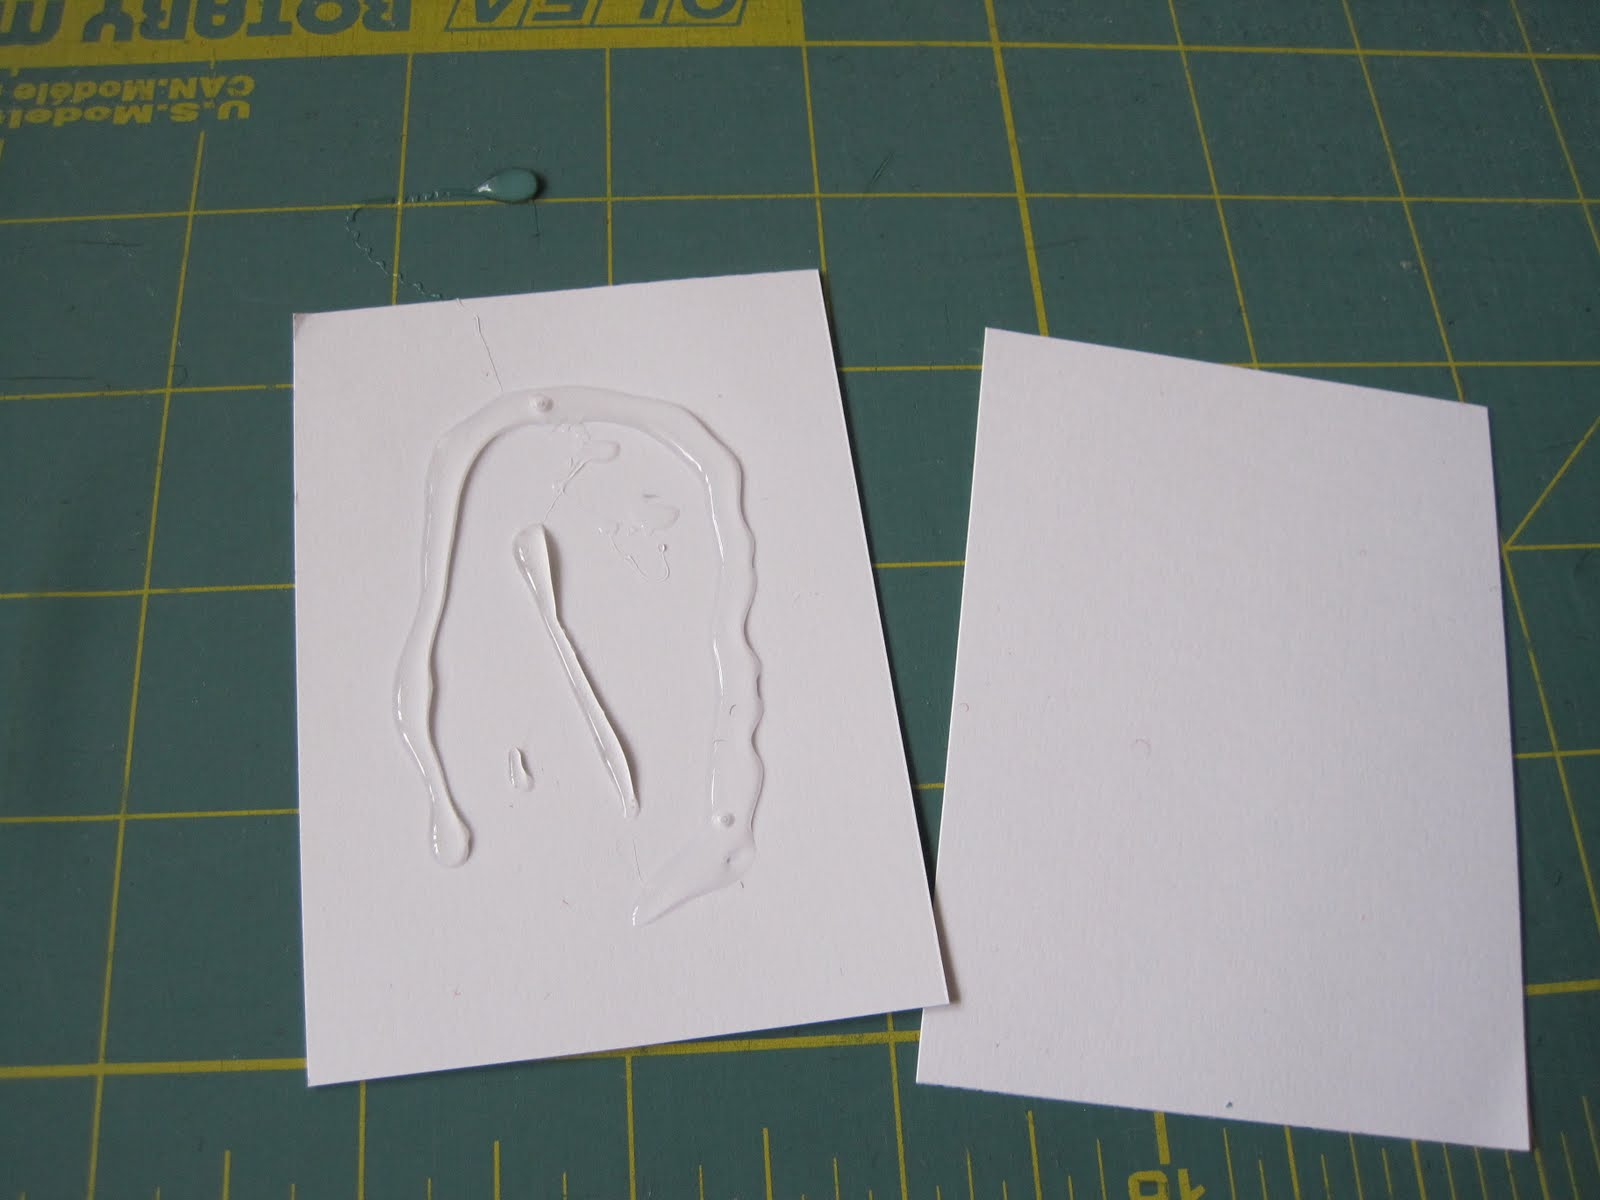
If you are using a thinner paper, cut two or three rectangles and glue them together. Try not to spill glue all over your cutting board, like I did!
Next, pick a piece of fabric. Your fabric pieces should be cut approximately 4.5" by 3.5". This is a very approximate sizing! On the back of one piece, draw some lines or shapes with your pencil:

Now thread a needle with floss or thread. If you're using thread, double it up. Use the lines you drew as a guide and sew a running stitch. Go back and forth across the fabric. Don't worry about being too neat; in fact it's better to do this step while watching TV or a film and not concentrate too much!

If you run out of thread, just tie a knot at the back and start with a new thread. You can start with the same color or a new one:

If you get bored of sewing, you can add some variation by adding a shape to your ATC. Just cut a shape from a contrasting fabric and use a running stitch (or any other stitch) to attach it:

When the front of your ATC is done, it's time to attach the back. On the wrong side of the back fabric, draw two lines 2.5" apart. Layer it with the front of the ATC, right sides together:

Pin it and sew on the lines (by hand or by machine):

When you've sewn both lines, you'll have a kind of tube; turn it right-side-out and flatten it a bit with your fingers. You don't need to press it with an iron at this point:

Now, take your paper or cardboard and ease it into the tube. I've found that it works best if you try to keep the seam allowances at the front:

See how the paper is going in between the seam allowances and the back:

When the paper is all the way in, try to more or less center it in the tube. Once you've got it centered, you just have to fold in the ends and sew them together, and the ATC will be complete! So, start at one end. Fold the front fabric over the paper and tuck it in:

Fold the back fabric in as well:

The corners may get a bit lumpy because of the seam allowances. Use a pin to push them in and smooth them out:

Sew the ends together:

Finally, repeat with the other end. You're done! Use the pen to write your information on the back of the ATC, and it's ready to be traded :)

Good work!
It's fun to see how you made this ATC. Thanks for sharing.
ReplyDeleteGreat tutorial, I love how this turned out!
ReplyDeleteWell thanks for that! I've been making beaded ATC's and have been looking for alternative ways to finish them. My only concern is that my work gets so three dimensional that it may be hard to turn...
ReplyDeleteI found this blog via Google.
Actually, that's not accurate. I got here via the Fat Quarter blog which I found via Google. :- )
ReplyDeleteI love the Fat Quarter blog :)
ReplyDeleteI think the method would still work for beaded ATCs, depending on how thick the beading was. Please give it a try! I'm curious to see how it would turn out! :D
I love this idea of a fabric ATC. If corners are too lumpy, they can be clipped at a small angle like quilting corners would be. Then fold inward and sew the ends closed.
ReplyDeleteSTUNNING!! I wish I could sew! Well I can a little bit, but not enough to have the kind of patience you take to make these! What a LOVELY ATC!
ReplyDelete~MrSchiEvous @ http://mischievouscrafts.blogspot.com/
Your fabric ATC tutorial was very well done, Emily. I am so tempted to start making some, but I have handmade postcards to get finished first for another Swap Bot Swap.
ReplyDeleteKeep creating; it makes life better for everyone!
Marsha
Quilterinmotion
Crafty Blog #2